Ledger.com/start Process – Complete Guide
Setting up a Ledger hardware wallet is an essential step in securing your cryptocurrency assets. Ledger devices, such as the Ledger Nano S Plus and Ledger Nano X, offer cold storage to protect your digital funds from online threats. To get started, users should visit ledger.com/start, the official setup portal. Below is a detailed 500-word walkthrough of the entire process.
1. Visit ledger.com/start
Open your web browser and navigate to https://www.ledger.com/start. This page will guide you through the initial steps based on your Ledger device (Nano S Plus or Nano X). Choose your model and continue.
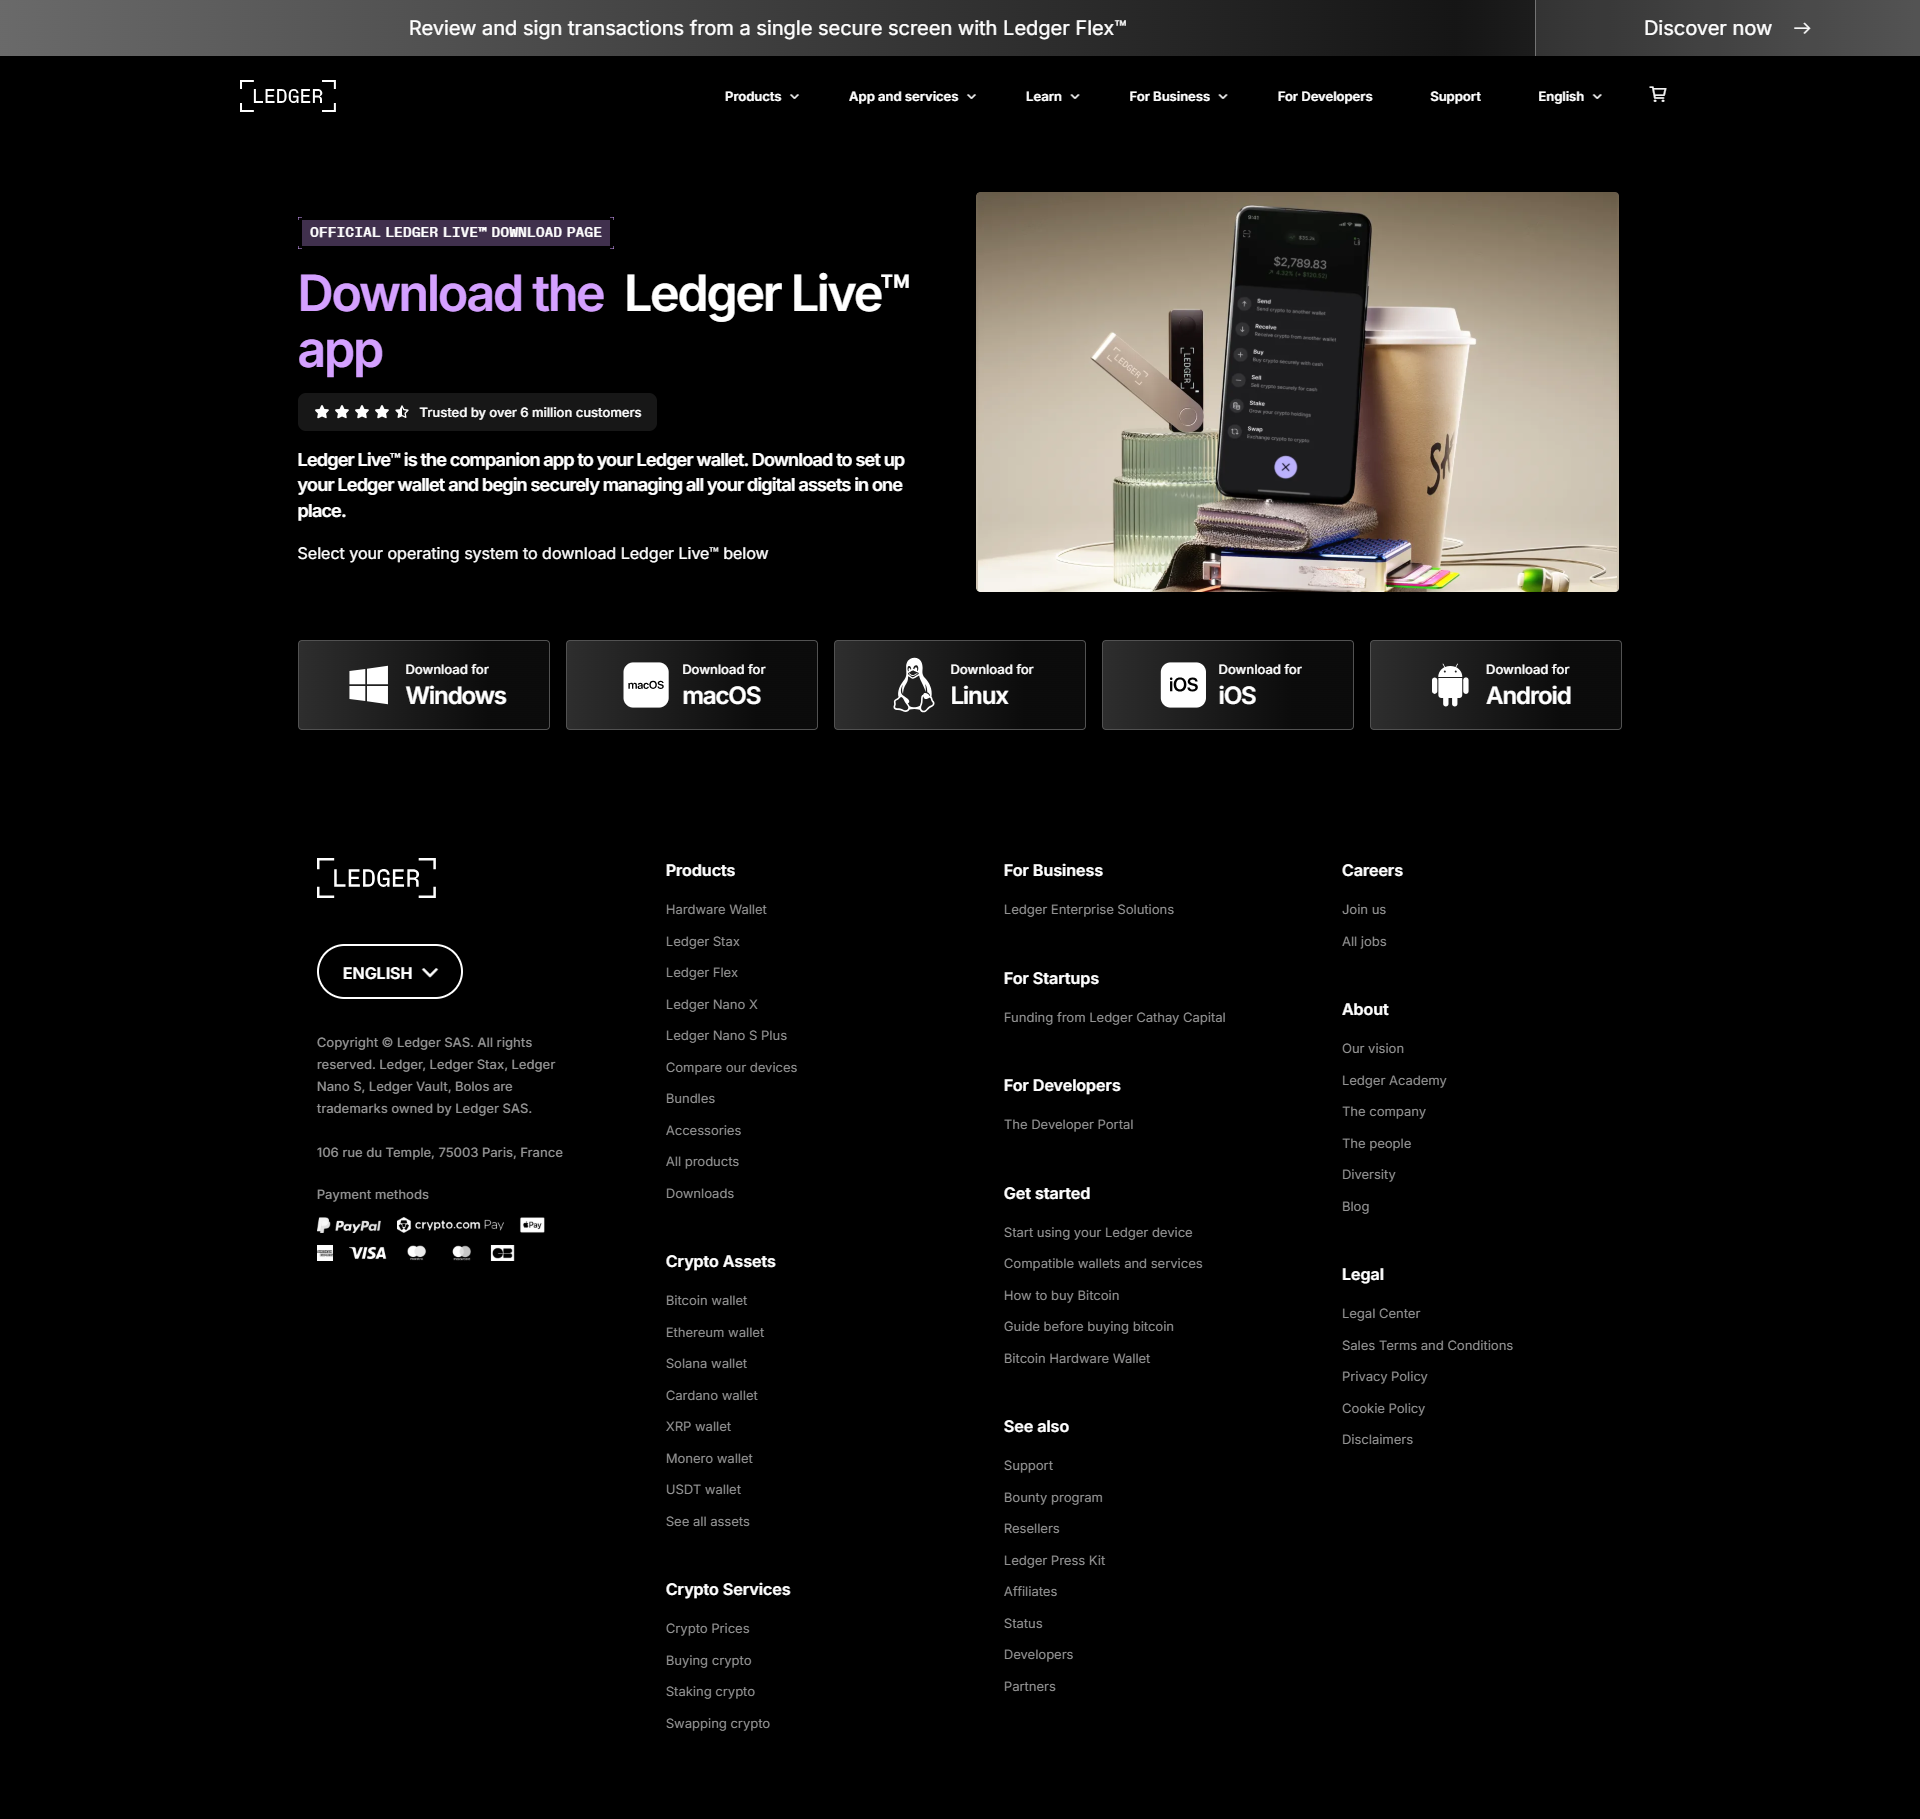
2. Download Ledger Live
You’ll be prompted to download Ledger Live, the official companion app. It is available for Windows, macOS, Linux, iOS, and Android. Download and install the software from the official site only to avoid counterfeit versions.
Once installed, open Ledger Live and choose “Get Started.” Select your device and confirm that your product is genuine by following the prompts.
3. Set Up as New Device
When your Ledger device powers on, choose “Set up as new device.” Then, you’ll be prompted to:
- Create a PIN code: Choose a 4–8 digit PIN that you’ll enter every time you access the wallet.
- Write down your recovery phrase: You’ll receive a 24-word recovery phrase. This is your wallet backup. Write it down on the provided recovery sheet and store it securely offline. Never take a photo or save it digitally.
This phrase allows you to restore your wallet in case the device is lost or damaged. Anyone with access to this phrase can access your funds.
4. Confirm Recovery Phrase
After writing down the recovery phrase, the device will ask you to confirm a few of the words. This step ensures you wrote the phrase correctly.
5. Connect Ledger to Ledger Live
Once your device is initialized, return to Ledger Live. Select “Check My Nano” to verify the authenticity of the device. Ledger Live communicates securely with your device to confirm it hasn’t been tampered with.
6. Install Apps on Ledger
Next, go to the Manager tab in Ledger Live. Here, you can install applications for different cryptocurrencies like Bitcoin, Ethereum, or Solana. The apps enable the wallet to interact with specific blockchain networks.
7. Add Accounts
After installing the desired apps, go to Accounts in Ledger Live and click “Add Account.” Choose the relevant crypto and follow the instructions to link your wallet account with Ledger Live.
8. Receive and Send Crypto
Now you’re ready to receive funds by generating a wallet address. Click “Receive”, select the asset, and copy the address to share. To send funds, use the “Send” tab, enter the recipient address, and confirm the transaction using your device.
Final Tips
- Always verify addresses on your Ledger screen before confirming.
- Update Ledger Live and your device firmware regularly.
- Enable Ledger’s security features, such as the passphrase option for advanced users.
By completing the setup at ledger.com/start, you’re taking a critical step toward securing your digital assets with industry-leading hardware protection.
Made in Typedream